Sunday, August 14, 2011

Adventures In Pressure Canning

Today I finally attempted to pressure can my green beans. I admit,with all the horror stories I heard about pressure canning,I was a bit nervous,but I figured if I followed the directions,I should be OK.Some of my nerves were just from attempting something new,not knowing what to expect, and not having the rhythm down.

Well,folks,I am here to tell you that pressure canning is EASY. Yes,that's right,E-A-S-Y. The hardest part is reading through the instructions,getting used to the equipment,and realizing that if your pressure regulator is not rocking like it is suppose to,and steam is pouring out of the air vent, it's normal. It doesn't mean that the canner is going to explode.

I bought my  Presto  pressure canner/cooker ( as well as my water canner) last year when I was wide eyed with the typical canning virgin excitement.I did not have enough veggies to warrant canning them,so I made friends with my water canner and made relish,pickles,and strawberry jam.This year,however,we picked about 4 lbs of green beans,so I knew I could at least break into the pressure canning world with a batch of that.

The first thing you want to do is read the instructions,check out the canner,  it's parts,and read the recipe. Then do it all over again.Pressure regulator?Vent pipe? Overpressure plug? Good to know what they are and what they are for. Then you have to decide if you want to hot pack or raw pack the beans. Raw pack has no precooking,and that is what I did (after checking with Rick to see what he would prefer).I did not add salt,which is optional.

I washed out the canner per the instructions, the green beans the jars,lids,and rings.
I needed to boil water to keep in the jars until I was ready to fill them. I also boiled the lids and rings.

When I was ready to fill the jars,I poured out the water,packed the jars tightly with the green beans,then filled the jars with water to allow 1" of head space,using my head space measure.I used a rubber spatula in each jar to get rid of air bubbles.I wiped the rims of the jar,then put on the hot lids and rings.
I had to boil 3 qts of water to put in the pressure canner. I poured in the water,then placed the jars on the canning rack.I made sure the cover and the body of the canner closed correctly.I turned the burner on high,and waited for steam to start coming out of the vent pipe on the top of the canner. I lowered the heat so that the steam still came out steady;the steam had to come out for 10 minutes.I was then ready to put the pressure regulator which was set to 10 lbs, on the vent pipe.
Now was the part that I was nervous about. At 10 lbs of pressure,the quart jars needed to be processed for 25 minutes. However,you could not start counting the process time until the pressure regulator started rocking back and forth. That was the signal that the canner was ready with the proper 10 lbs of pressure.
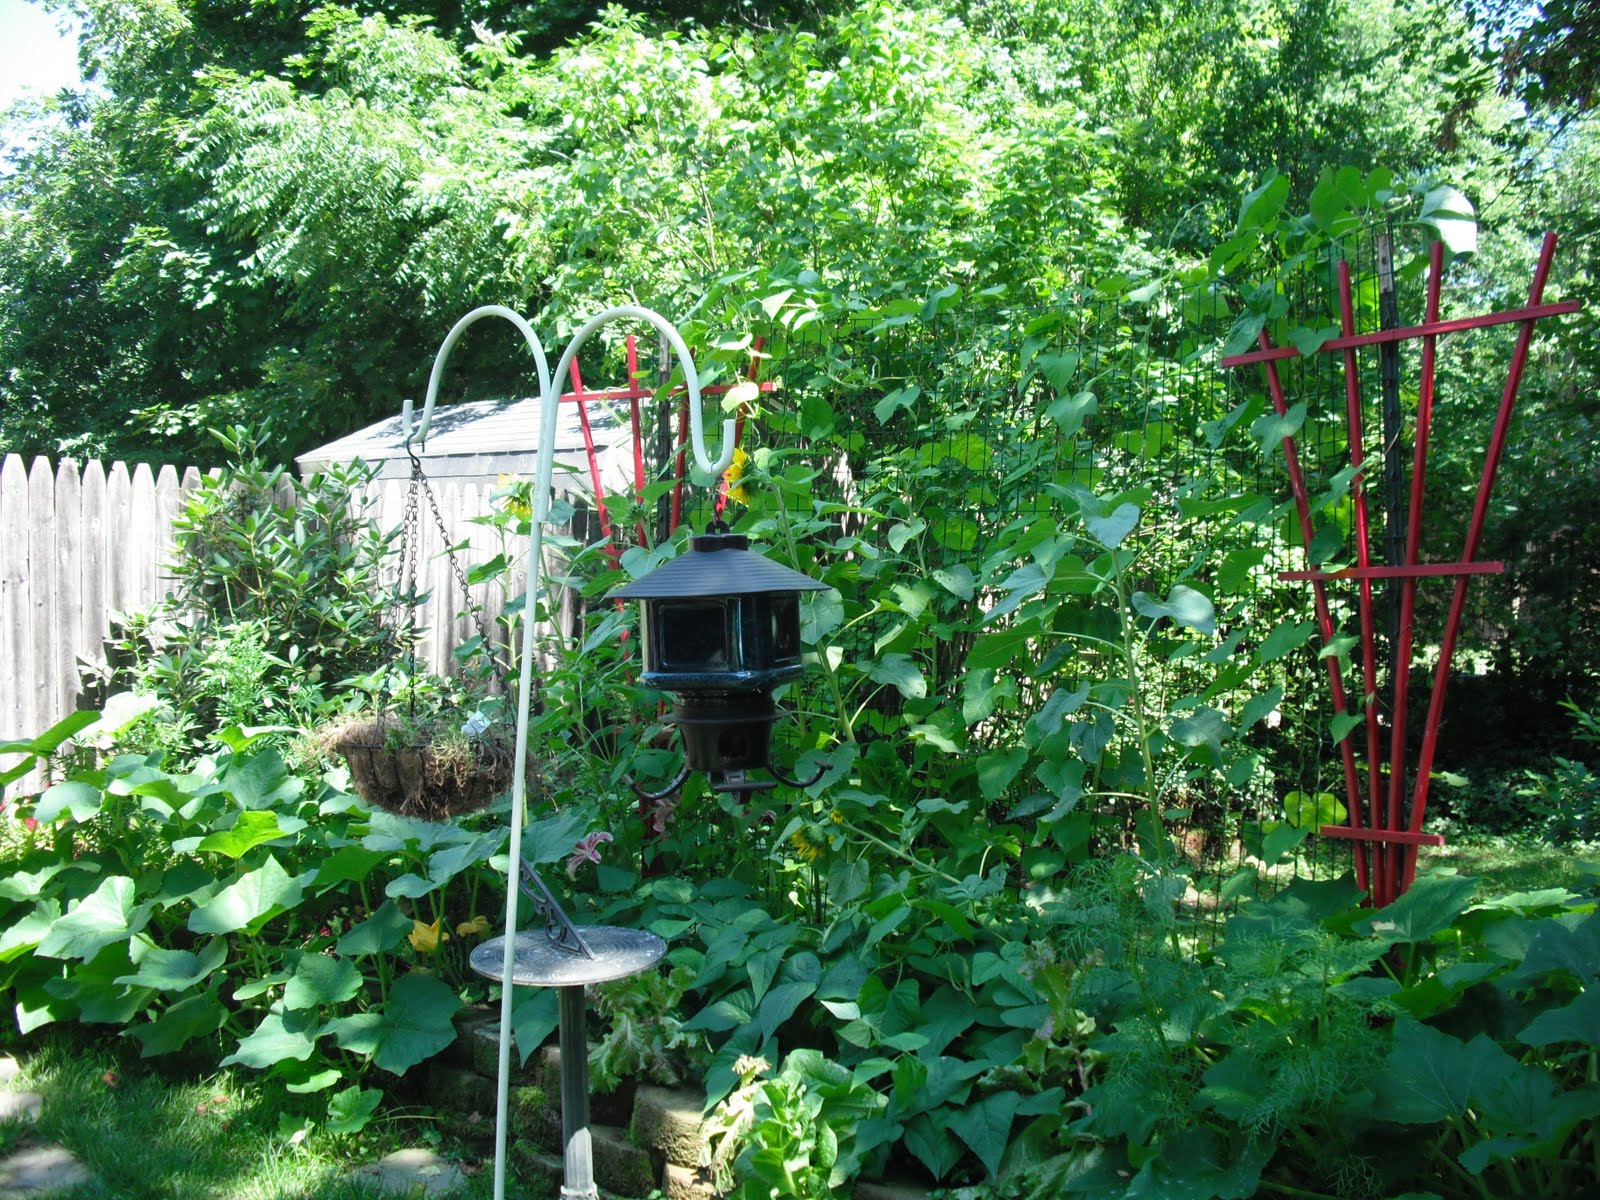
I figured it wouldn't take long. Well, you know the expression "a pot never boils?" That also applies to pressure regulators.They don't rock if you watch them. In the photo above,you can see on the left hand side of the lid a little flat head button.This is the air vent/cover lock.(it had already popped up in this photo)To the right,in the back,you see a black button.This is the overpressure plug. The overpressure plug was popped up,and the air vent had steam pouring out of it-I thought something was going to blow for a couple of minutes. I kept watching the regulator,waiting for it rock.Then the air vent popped up and I kept waiting and wondering what I did wrong.Finally,about10 minutes later,it started rocking.I put the heat on medium so it would still rock,but not hard,and turned the timer to 25 minutes. After it processed,I had to wait until the pressure had gone down-the air vent and the overpressure plug had to both drop back down . That took about half an hour. I opened the lid,and took out my first batch of canned green beans. 


So....I used a pressure canner and lived to tell the tale! If I can do it,trust me,so can you!!!!


Wednesday, August 10, 2011

A Litte Visitor

Little O and Moxie love to sit on the windowsill in the kitchen that looks into our screen porch. The last week,we noticed that more often than not,something would hold their attention for a while. These cats would not move one inch-except for the swishing of their tails.We did finally see what holds their interest.

I took this photo of Little O this AM.She was sitting,staring up towards my egg basket which I hang on hook in the window by the door.I walked quietly to where she was sitting,peered out the window,and saw our little visitor-I was even finally able to snap a photo:


Our little chipmunk friend has been enjoying the bag of bird seed we keep on the porch.Sometimes the door does not close properly,which makes it easy for such a small creature to slip in. Sometimes it hides in our pot belly stove (which is not hooked up,it's for decoration).It's funny to see it's little cheeks puffed out with seed.

Brother B went onto the porch and opened the door. It literally flew out of the basket,under the bench,and finally,bolted as fast as I've ever seen  a chipmunk bolt,to his home in the stone wall.

Saturday, August 6, 2011

2011 Garden Tour

I know, I have been remiss in posting.It seems like the same thing,for the most part,each day,and I have failed to to be motivated to chat about it.

However, last Saturday,our Garden Club had it's annual Members Garden Tour. We had several folks open up their yards so we could poke around and ask questions,or just take photos and admire. My garden was not on this tour. Our yard is still a bit disheveled,and I am sort of out of the loop up here-most members live down in Farmington,and there is nice loop between their homes which is more convenient than trekking up here,out of the way. Sadly,my camera battery died at the house with the biggest garden,and I was not able to take photos at the last house. :(  I did get some good photos up until then,though.


Our first house was that of Kyle and his husband,Stan.They have a small lot,filled with flowers,herbs and veggies mixed in together:


Our second house was that of Pete. Pete is the repurposer (if that is a word)of things.He has compost bins made of truck liners,has veggies growing out tires,and built a greenhouse out of old windows. In the second photo,you will see him showing us his cold frame that he made from dry sink and old window,and in the third you will notice a tall rocket shaped structure.That is an old tanning bed topped with a plastic ball he had.He made it into a small garden tool shed.


The third house was that of Stephanie and her partner,John.Stephanie is a cartoonist who has sold her cartoons to "Chicken Soup For the Soul" books and is the head of the Garden Group.John is the editor of the local paper.After touring their garden they treated us to Cucumber Gazpacho Soup and ice tea.


Fourth stop was the home of Sally.  She had a nice mix of veggies,fruit and flowers.
Fifth house was that of my Dear Friend Michelle.She has a great set up with a bee hive (though the bees disappeared last year),a barn she and her hubby built,rain barrels,chickens,and goats.

The sixth house was that of Carl and Kay. Carl and Kay are an older couple.They built their house,haul water from their pond,cook on a wood stove,and built their own sugar shack for maple syrup.They have massive gardens,and can or dry their harvest to last them through the winter. They eat no meat or eggs.The first photo is that of their sugar shack and the wood shelter for the wood they use to boil their syrup.

That's where my camera battery died :(  The seventh house was that of Pat and Manny. They have horses,chickens,and a small pond. They have two or three garden areas.They invited us to a feast of strawberry soup,spinach quiche,brussel sprouts,salad,and lavender shortbread cookies.

It was a very interesting tour. Lots of good ideas to store away for future reference!